
How to use AEeye App in smartphone for HD network video recorder
P2P is an easy way enables users to access their IP cameras and NVRs via smartphones and tablets, desktop PCs and laptop computers. Despite featuring conventional DDNS, HD network video recorder also supports P2P connection, however users need to install and use the AEeye App.
AEeye App is the replica of the Goolink, yet eliminated the annoying ads. Using the app is quite straightforward on the premise that your NVR can be accessible locally from computers.
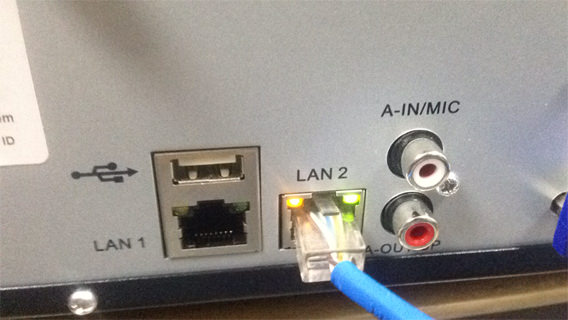
To have the correct network setting is the fundamental factor to enable users to access the video feed via the App. If you happen to have a 25/36/64CH HD network video recorders that maybe equipped with two Ethernet ports, making sure you use the LAN2 as the below picture shows.
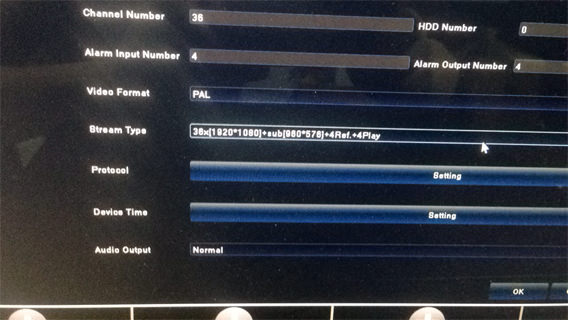
There is another problem that many clients may face during the setup the system, that is the NVR may not be able to show all the images. This mainly dues to the chosen stream type is incorrect. For example, if you use multiple cameras, some cameras are 960P, a few of them deliver 1080p video, then the correct stream type should be [1920*1080]+sub[960*576]+4Ref.+4Play. Means the stream type’s resolution must match or higher than the video resolution of connected IP cameras.
Suppose you have already downloaded and installed the AEeye in your device, the next step is account registration.
1. After register an account then login.
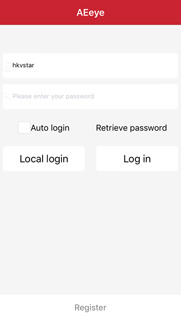
2. Click the hamburger button to display the main menu
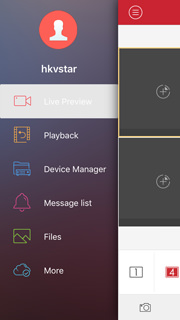
3. Click “Device Manager” , then click “Add device” to add your NVR
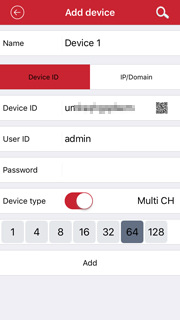
4. In “Add device” page, it allows you to manually fill the device’s info. However, if you don’t change the default network settings in your NVR, you just need to touch the QR code icon, then scan the QR code label which can be found in package box and the body of NVR.
5. Under Device Type option, you can choose how many channels the NVR can support (e.g. 64), then click “Add” to proceed.
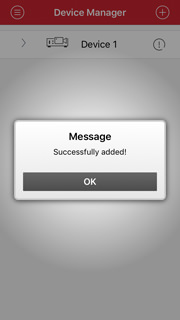
6. As long as the App can establish the connection, the App will pop-up “Successful added!” alert message, now click “OK”.

7. After complete the device adding, it doesn't mean the app will stream automatically, you need to click hamburger button again, then choose “Live Preview” menu.
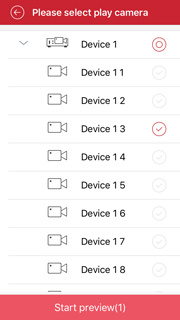
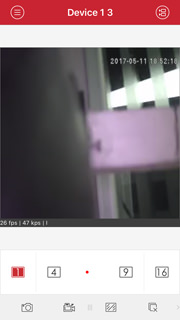
8. In “Live Preview” page, there is no video displaying, click the grey color view window, then it will switch to another page which allows you to select camera to play the video. Lastly, click “Start preview”, now the app will switch back the the preview window, and start playing the video.
Get My Latest Posts
Subscribe to get the latest updates.
Your email address will never be shared with any 3rd parties.