How to use eRobot CMSClient Software?
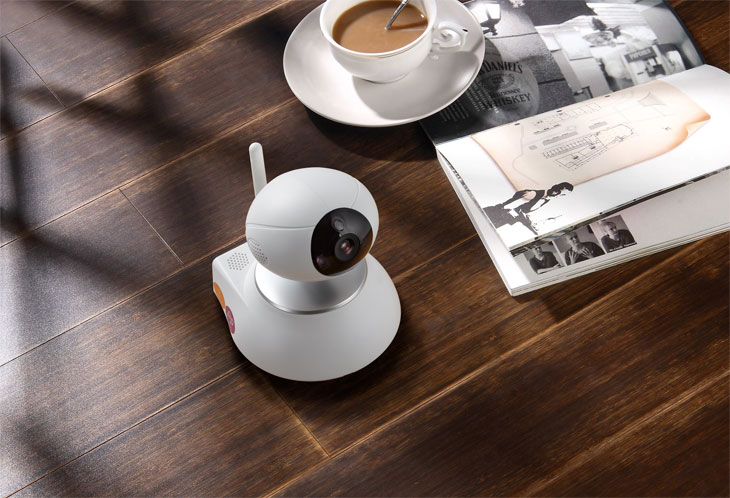
eRobot is new generation network camera, it's designed for home and business security. Different from traditional IP camera, eRobot camera supports motion detection and wireless zones to work with up to 64 wireless sensors. This is a smart IP camera which is based on peer to peer technology, it supports remotely accessing and watching through smartphone Apps, Cloud server (Cloudlinks.cn) and now PC client software.
Thanks for using our eRobot IP camera, we are pleased to introduce you the PC client software for this system. From now on, you can download the PC client software from below link:
Download link: http://support.hkvstar.com/file/CMS_Setup_1.0.0.8.rar
Latest version (May, 2015): http://www.hkvstar.com/technology-news/unifore-uplated-cmsclient-software-for-erobot-camera.html
This software supports Windows XP, Windows 7, Windows 8 operating system. Currently, we don't have software for Mac OS.
How to use eRobot CMSClient?
Step 1: Install the software in your computer
The installation is easy, just un-compress the RAR file, and click "CMS_Setup_1.0.0.8.exe" to begin the installation.
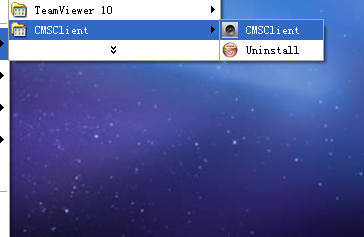
Step 2: Run the software, Register an account
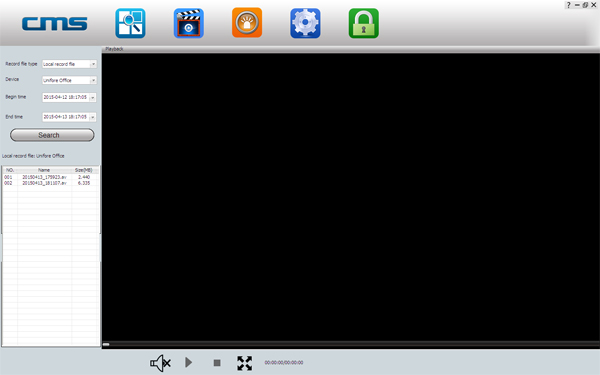
Register an account with your new account name and password, and choose the language. Currently, the software support English, Simple Chinese, Traditional Chinese languages.
Step 3: Login into CMSclient software
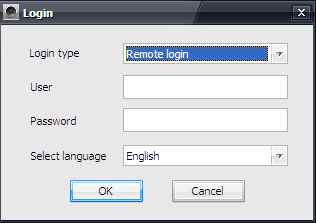
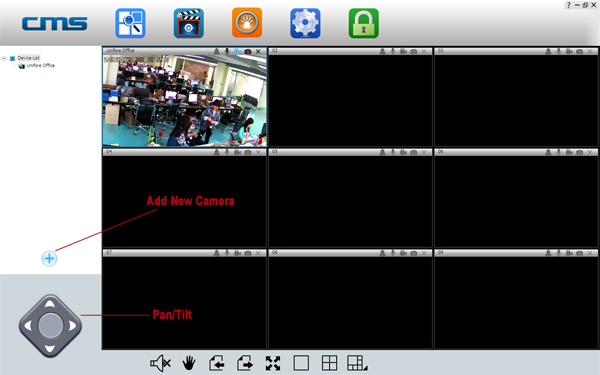
Step 4: Add your eRobot IP cameras
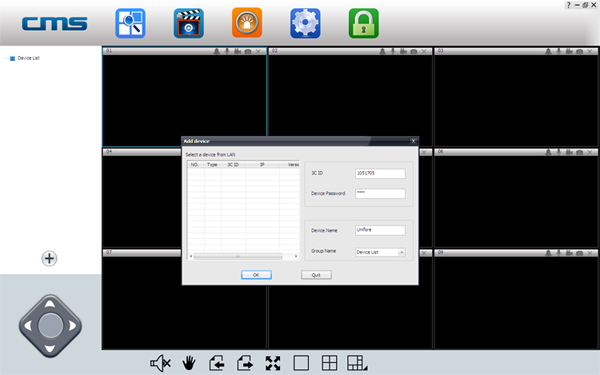
Click on plus icon to add new device, it will pop-up add window. Fill the form with your advice ID (3C ID) and password, input the desired device name, click "Ok" to confirm.
If you don't have eRobot IP camera, but want to test this software, you can go to this webpage [http://www.hkvstar.com/2cu to get demo devices information (device ID and password)].
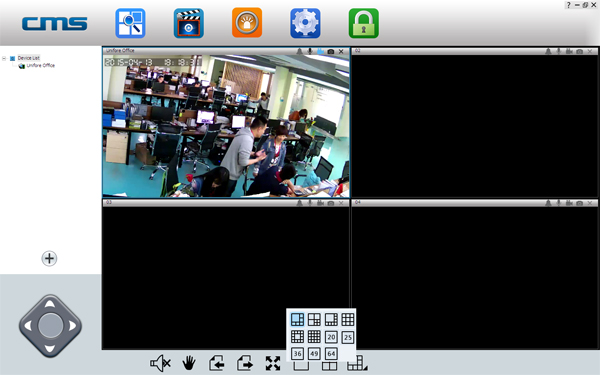
Now the eRobot IP camera appears in the device list, double click the device name, the software will connect the eRobot IP camera, and live video will shows up.
Step 5: Use the software's function
This software allow user to manage many eRobot IP cameras simultaneously, and it also offers many useful functions including audio intercom, video recording (video file will be stored on your PC's folder), lock/unlock (Arm/Disarm) the eRobot IP camera, Pan/tilt rotation, and split views.
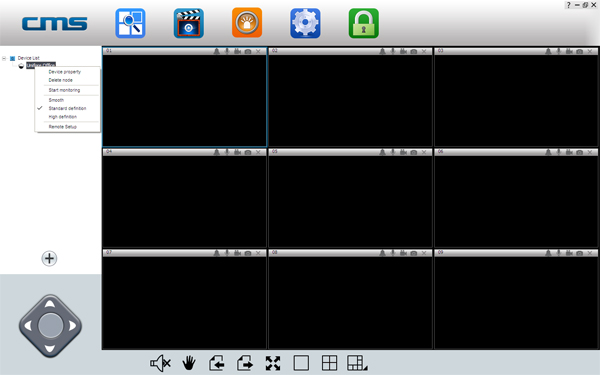
Remote Setup via CMSClient Software
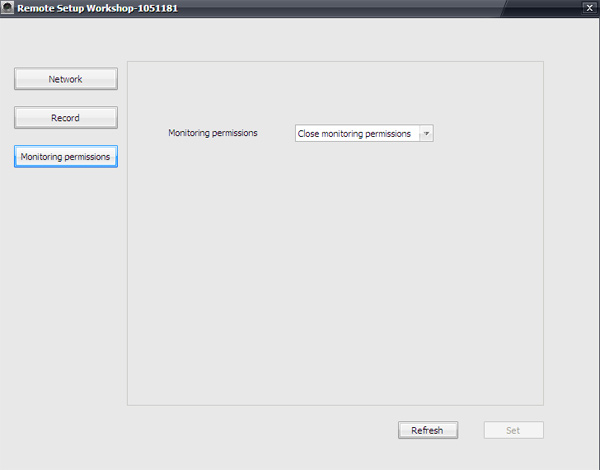
From now on, you can remotely setup the eRobot camera through this software. You can assign and modify the IP address for the eRobot camera, also choose the [High Definition] resolution for TF/SD card recording, also you can choose the monitoring permission.
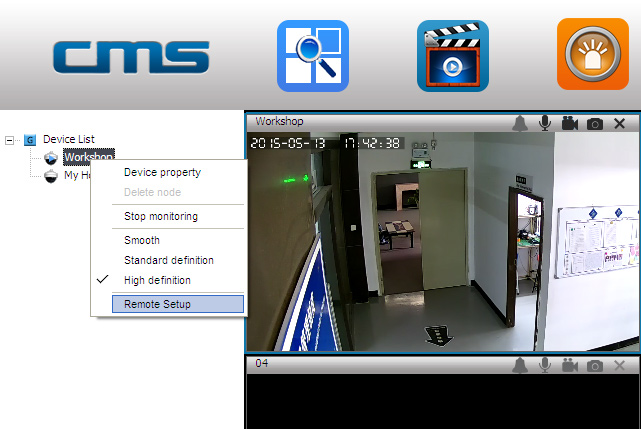
Step 6: Choose the device you need to remote setup, right click mouse, you will see the option.
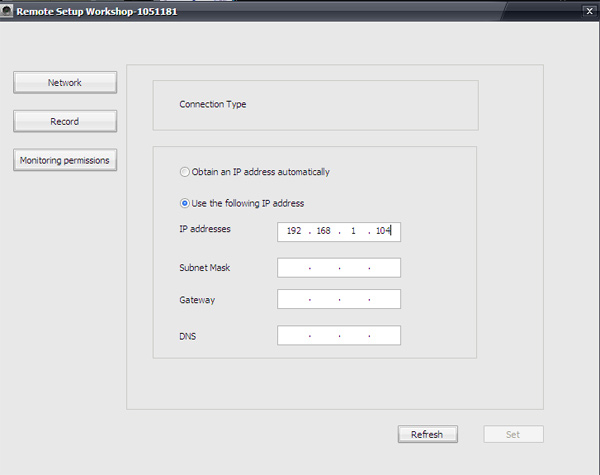
Step 7: Modify IP address, you can manually add/assign IP address to eRobot camera. If the eRobot camera frequently lose connection (offline), we recommend user to set a static IP for camera.
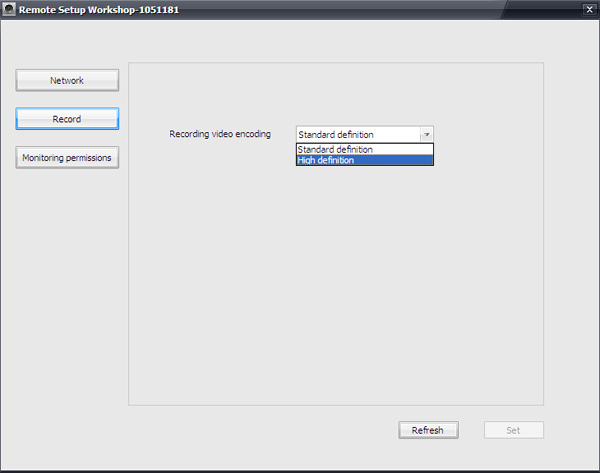
Step 8: Change recording resolution from SD to HD. Now you can change the recording resolution when video records on internal SD/TF card.
Step 8: Modify the monitoring permission
