How to use icloud goolink.org p2p service for NVR?
Cloud service the latest technology which offers hassle free network connection, which can eliminate the complicated network configuration for both IP cameras and NVRs. P2P (peer-to-peer) is a type of transient Internet network that allows a group of computer users with the same networking program to connect with each other and directly access files from one another's hard drives. Our NVRs can support the p2p function for cloud network connection, below its the tutorial on how to use this function.
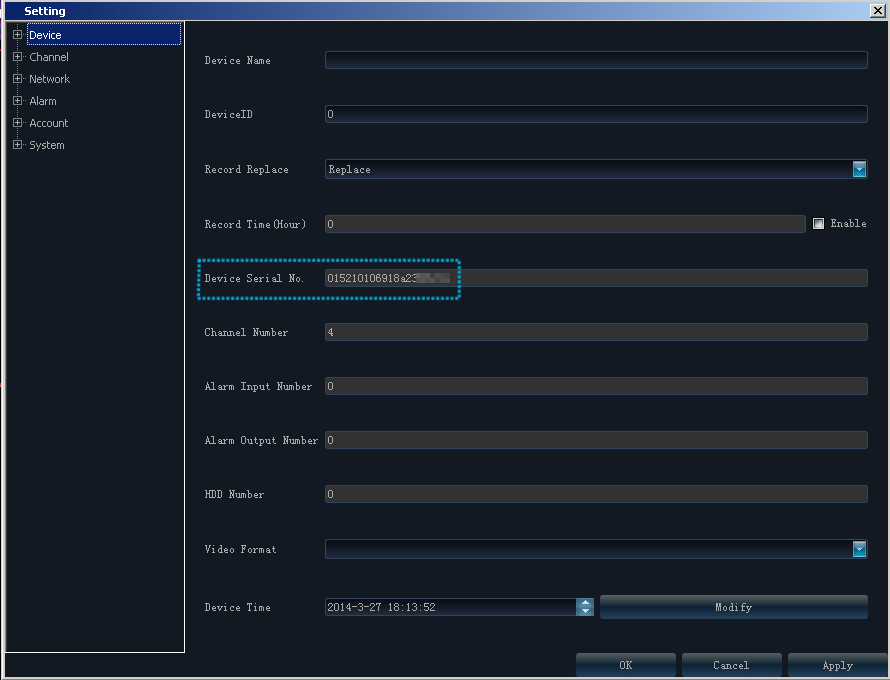
Find the device ID
Each of NVRs has unique device ID, and go to [Setting]>[Device]. You will find the device serial No.
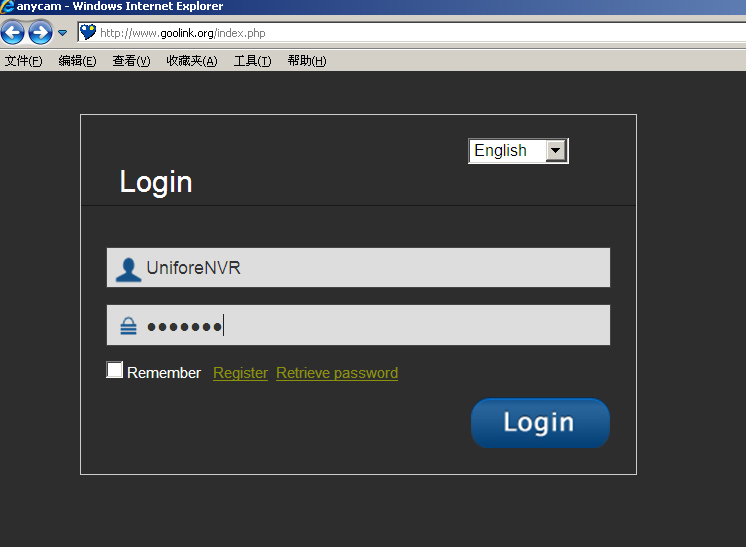
Login the http://www.goolink.org
Go to http://www.goolink.org and choose the language, click "Register", now you can register a new account. Please note that you need to use the Internet Explorer.
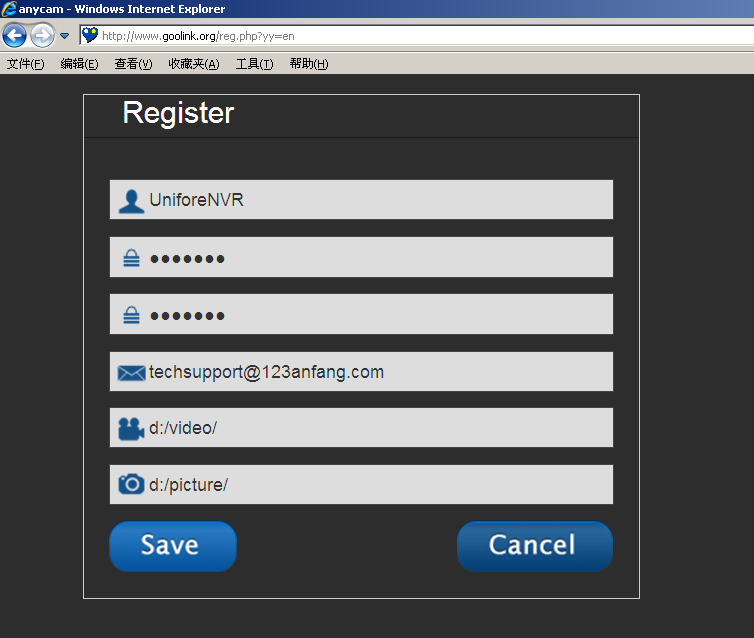
Register a new account, input the account name, password and your E-mail address. "d:/video/" "d:/picture/" is the fold path of your computer for saving (backup) video footage or captured images
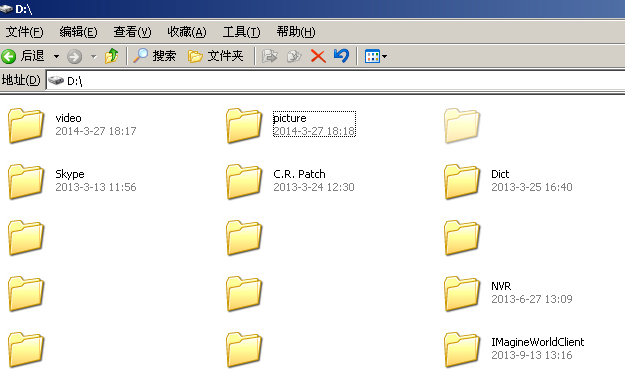
Create file fold for saving video/captures
Go to your personal computer, and create the file folder for saving video footage and captured images. Anyway, you can use any other fold name or path for this purpose, as long as you input correct path in account register.
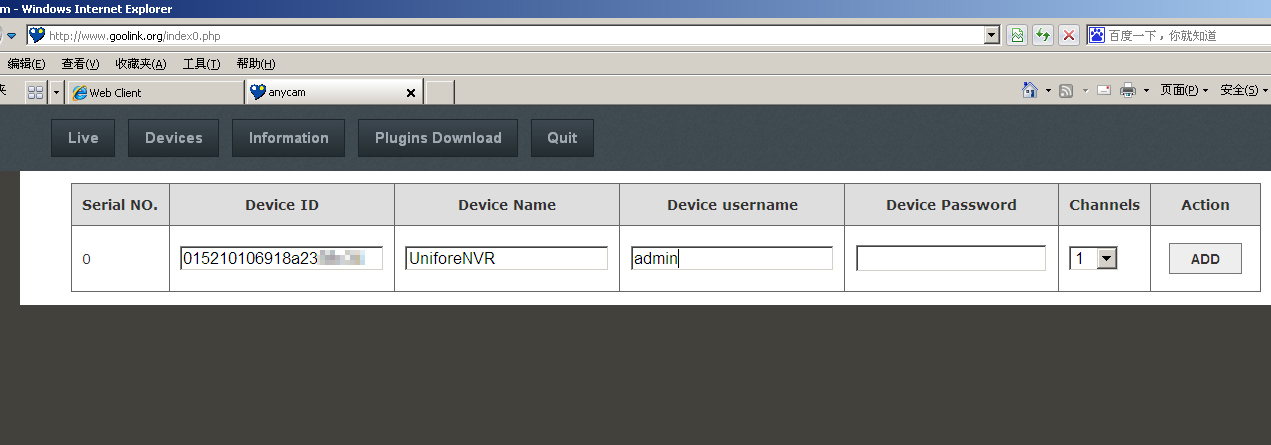
Add new device to the P2P website
Login the new account, and you will enter into live-view page, and click "Devices" you can manage/add new devices. Now you need to click "Add", then input the devices ID, and device name, and device username, device password, and the channels. (Default device-user: admin, password is empty.)
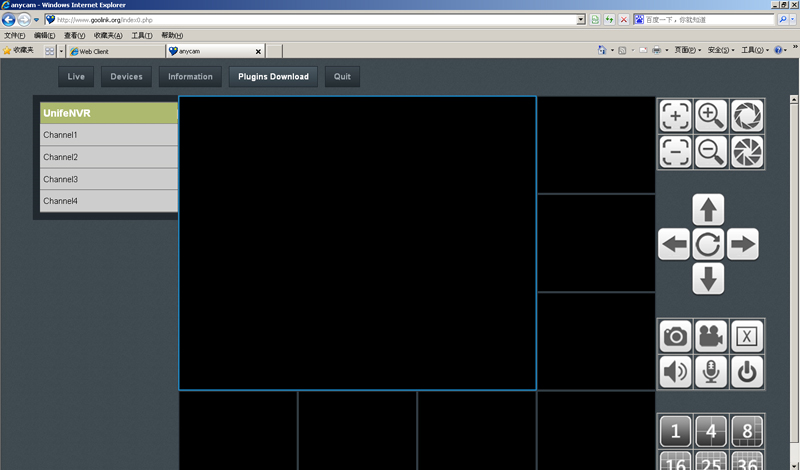
Install the IE plugin
Now navigate to "Live", you will see the control interface, but the video footage doesn't display, that means you need to install the IE plugin, click "Plugins Download", it will automatically download the plugin, you should install it in your computer, then refresh the webpage, after enable the plugin, you will see the video footage.
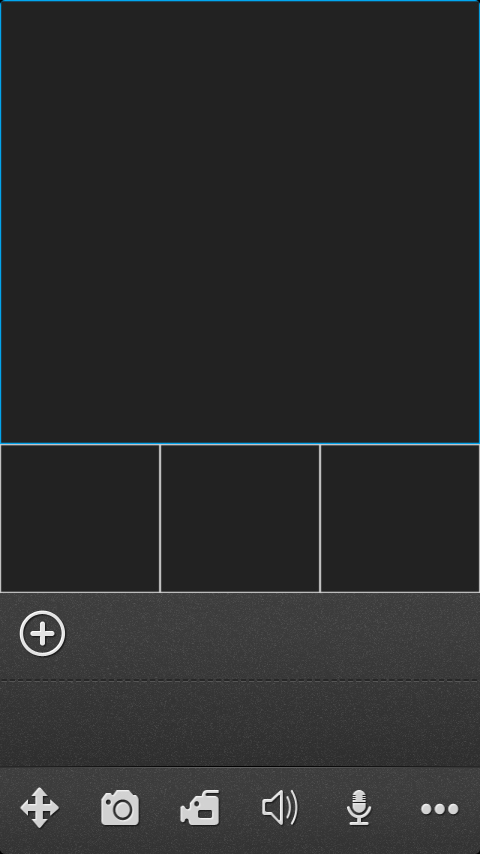
How to use Goolink app
Search Goolink in googleplay or iTunes, find the Goolink app, then install it into your smartphone. It's free. Click "add" icon, you can add new devices. You should choose "Manually enter"
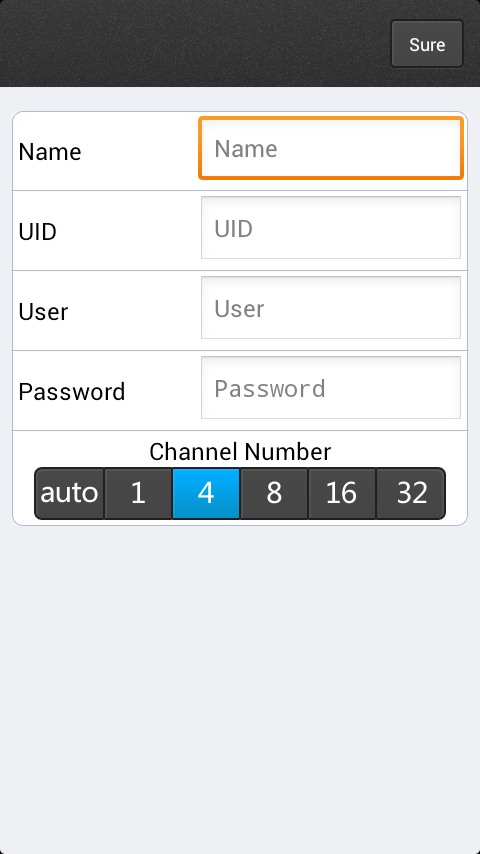
Fill the form with correct information, "Name" is the name of your NVR, "UID" is the Device Serial ID, "User" is the NVR's user (admin), "Password" is the NVR's password (empty).
Introduction to Goolink Cloud Service.
Goolink is the P2P cloud service which works with NVRs. This service can simplify the installation and network configuration of NVRs, it can allow user to access and watch, control NVR via latest P2P technology. The lastest firmware can support multiply channels video live view, PTZ control, and digital zoom, as well as two-way voice communication, it can send out schedule alarm information (paid service).
The Goolink has many servers around the world. This can allow customers can benefit the fast speed P2P connection. The servers are located in Mainland of China (6), Hongkong (2), Singapore (1), USA (California 2, New York 1), Brazil (1), Belgium (1), Britain (1), Lithuania (1), Morocco (1), South Africa (1).
Get My Latest Posts
Subscribe to get the latest updates.
Your email address will never be shared with any 3rd parties.