Chinese standalone digital video recorder network setup
Majority of standalone digital video recorder with built-in virtual server, after connect the standalone digital video recorder to local Lan network, you must config the DVR and router correctly. Herein we provide tutorial on how to config the network for Chinese made standalone DVR.
Step 1: Find the correct setting for your network. This step help you to find the IP address and subnet address, as well as DNS address for your network, and it will help your DVR communicate with your local router.
Click on Windows start up button, and input the "CMD", then press Enter.
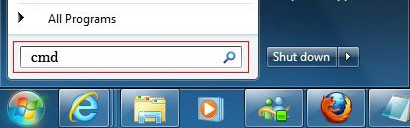
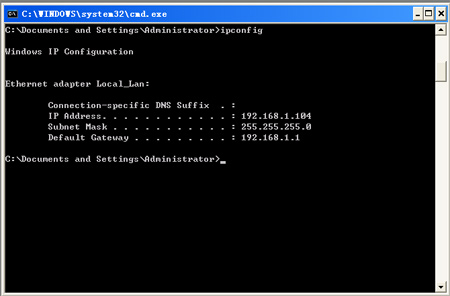
It will pops-up a CMS back window, then input "ipconfig", the window will shows your computer's local network setting.
Step 2: Turn on your DVR and right click, then select "main menu", click "System", you will see "Network".

Step 3: Click the "Network" menu, then it will shows up the network config window, uncheck the "DHCP enable".

Step 4: Set the IP adress for DVR, example: 192.168.1.99, also copy the subnet mask, gateway, primary DNS, secondary DNS address. please note that some internet service providers (ISP) may block the http port 80 as default, so you need to change it to other port example: 81, then the DVR can be accessed.

Step 5: After finish about setting, click "OK", then exit and restart the digital video recorder. Now the network config on DVR is finished.
Step 6: Go to your internet explorer, input the DVR's IP address example: 192.168.1.99, you will see the login window, that means network setup is correct and successfully. (please note you only can use this IP address on the computer which in the same LAN network. Simply the computer and DVR must connect to same router). If you changed the http port on above DVR setting, then you need into the ip address with port, example: 192.169.1.99:81
Step 7: Finished above setting, you only can access the DVR via local network. If you want remote access to DVR, then you need to do port forward.
Step 8: This is the port forward for Linksys Router, go to internet browser, and type into your routher admin IP address, example: 192.168.1.1

Step 9: Enter into the user name and password to login into router manage page.

Step 10: Click the "Applications and Gaming" tab.

Step 11: Choose the Port Range Forwarding tab.

Step 12: In "application" field, input DVR, In "start" and "End" fields input the port that you need to port forward, example 80. In "IP address" input your DVR's IP address, example: 192.168.1.99. Check the enable, and save the setting then exit.
Step 13: Repeat step 12 for any additional ports that are required by your system.
Step 14: Now you need to find your IP address for internet access. Go to http://www.whatismyip.com, and it will show you your IP address.
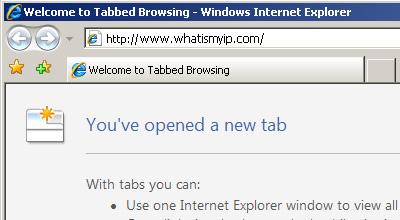
After get your internet IP address, you should be able to access the digital video recorder in any computers. This works for static IP address. If you are using the dynamic IP address, then you may need to signup the DDNS service, then you need to go to DVR and click "Netservice"

DDNS setup: Select the DDNS, then it will pop up a window. Select the DDNS provider example No-ip, then input your domain Name, user name and password, then click save and exit, restart the DVR.

Please note you can find several free DDNS service provider, and you will get the domain name, user name and password when you signup with their service. Now you can apply the free DDNS in no-ip.com
After did above setup, you can use your domain to visit the DVR.
Please note that you still can use the DDNS service, if listed built-in DDNS can not work (or no longer work). You just need to config the DDNS in your router as long as your router can support DDNS function.
Tags: DVR System, DVR network setting